How to Use Anker Portable Charger? Power Up Anytime
A dead phone battery can ruin your day, especially while traveling or working outdoors. An Anker portable charger keeps your devices ready whenever you need them.
This handy power bank offers fast charging, compact design, and reliable performance. Learning how to use an Anker portable charger is quick and easy. You only need a compatible cable and a few minutes to set it up.
Once charged, it powers your smartphone, tablet, or even wireless earbuds multiple times. This guide walks through every step from charging the power bank to connecting your devices safely.
You’ll also discover helpful tips to get the best battery life and charging speed. Stay connected and worry-free with this simple and practical Anker charging guide.
How to Use Anker Portable Charger?
A phone or tablet losing battery during the day can be stressful. Portable chargers, also called power banks, help solve that problem.
Among all brands, Anker is one of the most trusted names. Their chargers are known for strong batteries, quick charging, and safe design.
But many people still wonder how to use an Anker portable charger correctly. Some plug it in the wrong way or don’t know how to charge both the power bank and their phone. Others face slow charging or short battery life.
This guide explains every step clearly from charging your Anker to using it with your phone and keeping it in good condition. Each part is written in simple language so everyone can follow easily.
How to Charge Your Anker Portable Charger?
Step 1: Find the Right Charging Cable
Most Anker power banks come with a USB to USB-C or USB to Micro-USB cable.
Check your charger ports first. You’ll see two types of ports:
-
Input port (used to charge the power bank itself)
-
Output port (used to charge your phone or other devices)
Use the input port to charge the Anker charger. Always use the cable that came in the box. If it’s lost, choose a good-quality replacement cable from a trusted brand.
Step 2: Connect to a Power Source
Plug the small end of the cable into the input port on your Anker charger. Then plug the larger USB end into a wall charger or computer port. Charging through a wall adapter is faster and safer than a computer USB port.
Tip: Use a wall adapter that supports the same power rating as your Anker charger. For example, some models need 18W, others 45W or more. Using a low-power adapter may make charging very slow.
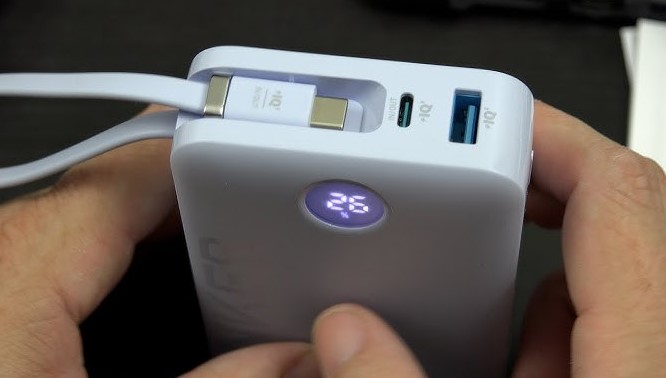
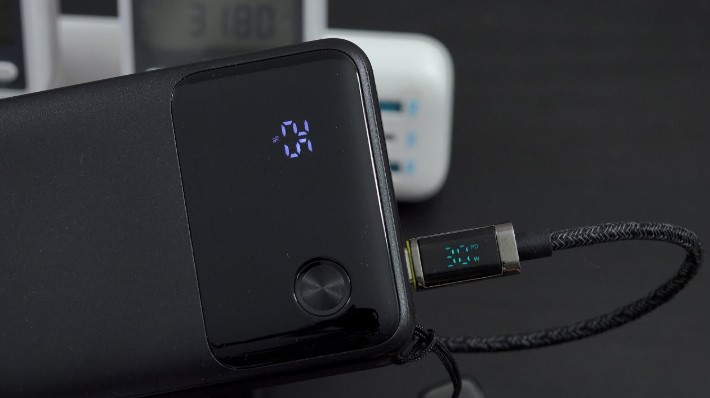
Step 3: Check the LED Lights
Anker portable chargers use small LED lights to show the charging status:
-
1 blinking light – very low battery
-
2–3 lights – half charged
-
All solid lights – fully charged
Never unplug too early. Wait until all lights turn solid. This ensures your charger is fully ready for use.
Step 4: Unplug Safely
Once it’s full, remove the charger from the power source. Avoid leaving it plugged in for many hours after it’s charged. This keeps the battery healthy and extends its life.
How to Charge Devices Using Your Anker Charger?
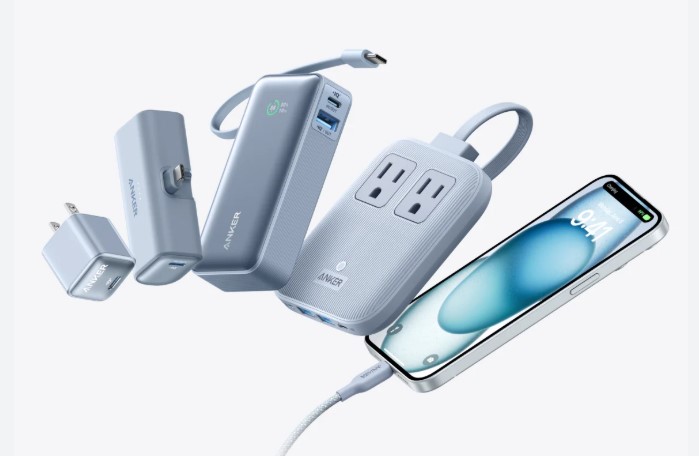
Step 1: Choose the Correct Output Port
Most Anker chargers have one or more USB-A or USB-C output ports.
Each port can deliver a different power level. For example:
-
USB-A port: good for normal phones or Bluetooth devices
-
USB-C port: supports faster charging and newer devices like iPhones, iPads, or laptops
Step 2: Pick the Right Cable
Use a cable that matches your device.
-
Lightning cable: for iPhones and iPads
-
USB-C cable: for newer Android phones, tablets, and some laptops
-
Micro USB: for older devices, headphones, or cameras
Using the wrong cable can slow down charging or cause connection problems.
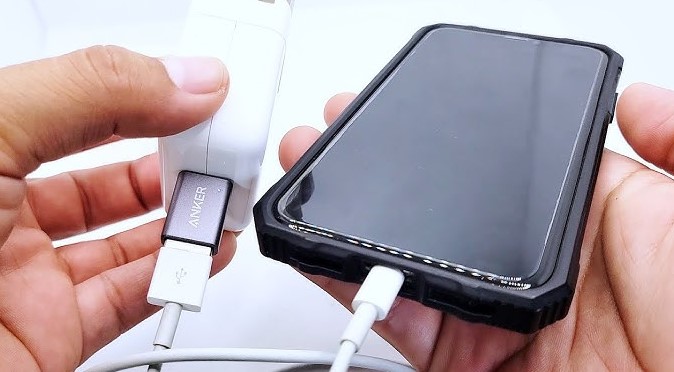
Step 3: Connect and Start Charging
Plug one end of the cable into the Anker charger’s output port. Plug the other end into your phone or device.
The LED lights on the charger will turn on, showing power is flowing. Your device will show its charging icon or battery percentage increasing.
Pro Tip: Many new Anker chargers include “PowerIQ” or “Power Delivery (PD)” technology. These systems automatically detect your device type and send the right amount of power safely.
Step 4: Wait for Full Charge
Let your device charge until it reaches your desired battery level.
You can use the device during charging, but doing so will slow the process. For fastest results, keep the screen off.
Step 5: Disconnect Properly
Unplug both cables once your phone or tablet is fully charged. Avoid keeping devices connected for hours after 100%. It helps both your charger and phone last longer.
How to Maintain and Store Your Anker Portable Charger?
Charge It Regularly
Even if you don’t use it daily, charge your Anker power bank every 2–3 months. Batteries can lose power slowly when unused for a long time.
Store in a Cool, Dry Place
Keep it away from sunlight, moisture, or extreme cold. High temperature can damage internal cells. Ideal temperature is around 20–25°C (room temperature).
Use Quality Adapters and Cables
Low-quality cables may cause heating or slow charging. Always use certified cables and adapters from trusted brands.
Avoid Complete Drain
Do not wait until your power bank is fully empty before charging again. Charging it while some power is left helps protect the battery’s lifespan.
Keep the Ports Clean
Dust or moisture inside USB ports can block power flow. Wipe the ports gently with a dry, soft cloth every few weeks.
Troubleshooting Tips
Charger Not Turning On
-
Plug it into a power source for 5–10 minutes before checking again.
-
Try another charging cable or wall adapter.
-
Press the power button (if your model has one) for a few seconds to wake it up.
Device Not Charging
-
Check that the output port works.
-
Try a different cable or port.
-
Confirm that your Anker charger still has charge left (check the LED lights).
Slow Charging Speed
-
Use a high-quality, short cable (long cables reduce speed).
-
Avoid charging multiple devices at once if your charger has low capacity.
-
Make sure your device supports the same fast-charging type (like PD or Quick Charge).
Safety Precautions
-
Do not expose your charger to rain, snow, or water.
-
Keep away from fire, direct heat, or metal objects.
-
Do not open or try to repair the charger yourself.
-
Unplug the power bank during thunderstorms or unstable voltage.
-
Do not charge and discharge (use) at the same time for long periods.
Following these tips will protect both you and your device.
FAQs
1. How long does it take to charge my Anker power bank?
It depends on the model and input power. Small models take about 4 hours. Large ones, like 20,000mAh or more, may take 6–10 hours.
2. Can I use my Anker charger to power a laptop?
Yes, but only models with USB-C PD output can charge laptops. Check your device’s power needs before connecting.
3. Should I fully drain the battery before recharging?
No. Modern lithium batteries work best when charged before they drop below 20%.
4. Can I carry my Anker power bank on an airplane?
Yes, but check the capacity. Airlines allow power banks under 100Wh in carry-on luggage, not checked bags.
5. My charger feels warm while charging. Is that normal?
A little warmth is normal. If it becomes very hot, unplug it immediately and let it cool down before using again.
Conclusion
Anker portable chargers make life easier by keeping your devices powered anywhere. Knowing how to use them correctly helps you get the best performance and safety.
Always charge your power bank fully, use quality cables, and store it carefully. With these simple steps, your best Anker portable charger will stay reliable, safe, and ready whenever you need it.