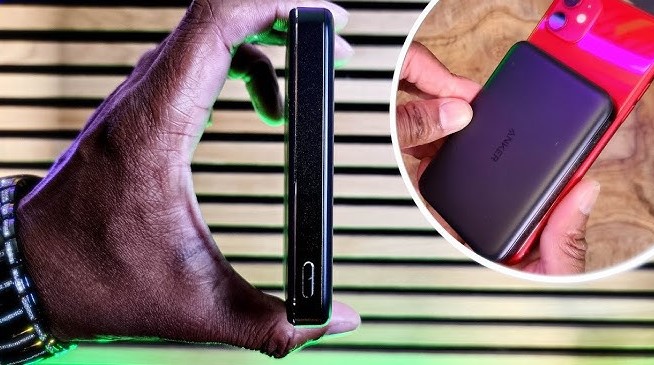
How to Turn On Anker Portable Charger? Power Up Fast
A dead phone in the middle of the day feels frustrating, especially during travel, work, or emergencies. Anker portable chargers offer a quick solution with reliable performance, but many people feel unsure about how to activate them properly the first time.
A smooth start requires just a basic understanding of the power button, indicator lights, and charging port. This guide walks through the exact steps to turn on your Anker power bank and confirms that it works before plugging in your device.
Confidence grows once you see the LED lights respond and your phone begins to charge without delay. A little clarity saves time and prevents confusion, especially with models that include extra features like PowerIQ or USB-C fast charging.
Ready power on demand makes every outing stress-free and keeps your devices running without worry. Let’s get your Anker charger ready to deliver power right away.
Table of Contents
ToggleHow to Turn on Anker Portable Charger?
Anker portable chargers help charge phones, earbuds, smartwatches, and other devices while traveling or during power cuts. Many people buy one but feel unsure how to turn it on for the first time.
The process feels confusing, especially when the device does not start charging right away. This guide explains everything in detail.
You will learn how the power button works, how different Anker models behave, what LED lights mean, and what to do if it does not start. The language stays very simple so non-native users can follow it easily.
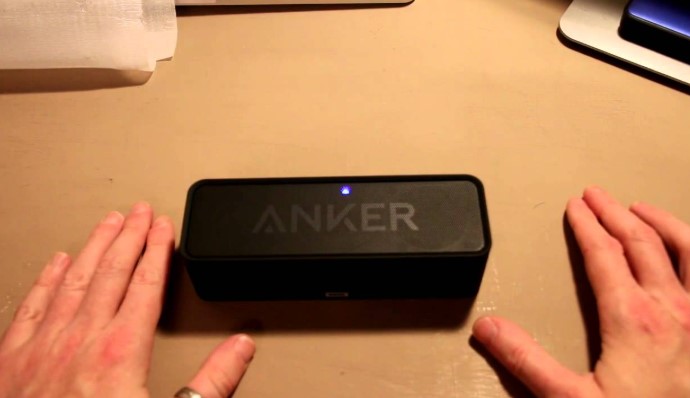
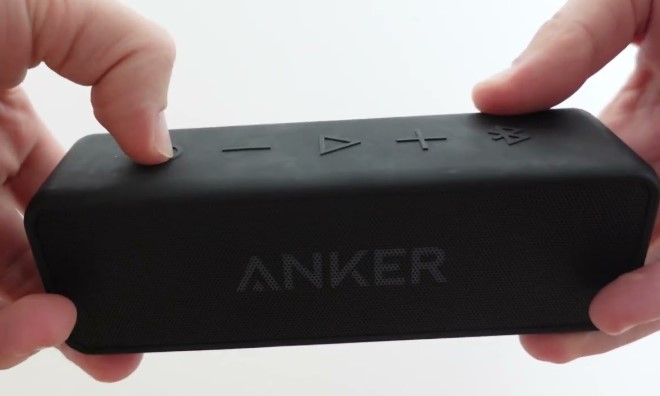
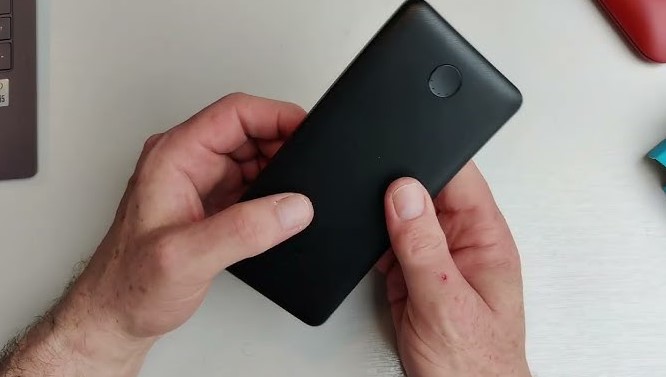
Understand the Basic Parts of an Anker Charger
Most Anker portable chargers have similar parts:
| Part | Purpose |
|---|---|
| Power Button | Wakes up the charger or checks battery level |
| USB Output Ports | Used to charge your phone or device |
| USB-C or Micro USB Input Port | Used to charge the power bank itself |
| LED Indicator Lights | Shows how much power is left |
Why This Matters?
Understanding the parts helps you know what to press, where to plug, and what the lights tell you.
How the Power Button Works?
Not every Anker model behaves the same way. Some need a press to start. Some turn on automatically when you plug in a phone.
| Charger Type | How It Turns On |
|---|---|
| Older Models (like PowerCore 10000) | Press the button once |
| Newer Models (PowerCore Slim, PowerCore III) | Starts automatically after connecting a device |
| Models with Trickle Mode for earbuds | May need a double press |
Tip: A quick press usually wakes the charger.
Step-by-Step: On and Start Charging
Step 1: Check Battery Level
Press the power button once before connecting anything.
-
Lights on = charger has power.
-
No lights = it may be empty and needs charging.
Step 2: Plug in Your USB Cable
Use a working charging cable.
-
Insert the USB-A or USB-C plug into the output port of the power bank.
-
Insert the other end into your phone or device.
Step 3: Tap the Power Button (If Needed)
Older or manual models need a button press to start sending power.
Newer auto-start models begin charging right after plugging in.
Step 4: Confirm Charging Started
Check your phone screen. A charging symbol or battery animation should appear.
The LED lights on the Anker charger may blink while outputting power.
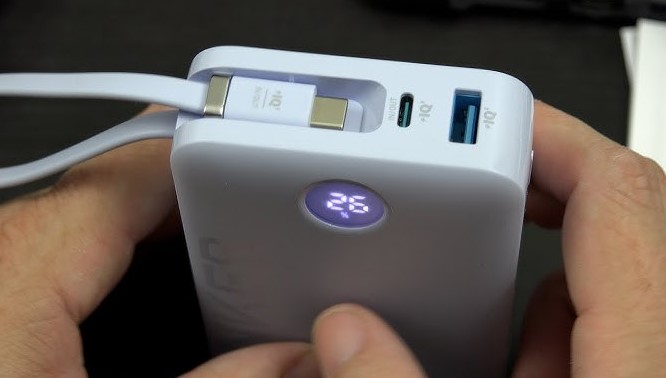
LED Light Meaning (More Detail)
LED lights help you understand the battery status.
| LED Lights Visible | Charge Level |
|---|---|
| 1 Light (blinking or solid) | Almost empty |
| 2 Lights | Medium charge |
| 3 Lights | More than half |
| 4 Lights | Full or near full |
Blinking lights usually mean charging in progress or power output is active.
What to Do if It Does Not Turn On
Sometimes the power bank does not respond. Try these checks:
1. No LED Lights Appear
This means the battery might be fully drained. Charge it for at least 10–15 minutes before checking again.
2. Device Not Charging
Try a different USB cable. Some cables can send power only one way or are damaged.
3. Poor Connection
Ensure both cable ends are properly inserted into the ports.
4. Long Period of No Use
The battery may have gone into sleep mode. Plug it into a wall outlet charger (not a laptop) and wait.
5. Try Pressing the Button Twice
Some models enter trickle mode with a double press. A long press is usually not required.
How to Charge the Power Bank Itself? (Important for First Use)
-
Take the included USB cable (usually USB-C or micro USB).
-
Plug the small end into the input port of the power bank.
-
Plug the larger end into a wall charger.
-
Watch the LED lights increase until full.
Full charging may take a few hours.
Extra Tips for Long Life and Easy Use
-
Recharge the power bank every few weeks even if not used.
-
Avoid using cheap or fake USB cables.
-
Do not leave it in extreme heat or strong sunlight.
-
Disconnect devices once they are fully charged.
-
Keep the ports clean and dust-free.
FAQs
Do I always need to press the power button?
Some Anker chargers need a single press, while newer ones start once you plug in a device.
Why does my phone not charge even after pressing the button?
It could be a dead battery or a faulty cable.
Can I charge multiple devices at once?
Yes, many models have more than one output port.
Is it normal for LED lights to blink while charging my phone?
Yes, blinking often shows charging activity.
Can I use it while it is charging itself?
Many models support this, but long use this way may reduce battery life.
Conclusion
Turning on an Anker portable charger becomes easy once you know how the power button and LED lights work. Press the button, connect your cable, and check the lights.
Keep the charger powered and use it with care. A few simple steps ensure your phone never stays without battery again.